Building a business website or a personal website used to be quite challenging in the past, especially if you weren’t a tech-savvy person. The good news is, with all the different options available on the internet today, starting a website has become extremely easy even for non-tech savvy users.
This guide is useful for users of all ages and skill levels. However, if you need help, then you can contact our team to help you set up your website.
Why should you use WordPress to make a website?
One of the most common misconceptions about WordPress is that it is just a blogging platform.
It is not.
While WordPress started as a blogging tool, it has evolved throughout the years into a powerful website builder and a robust content management system (CMS). The best part about WordPress is that it’s easy to use and flexible enough to make different types of websites. That’s the main reason why WordPress has grown so much in popularity.
Here’s why you should use WordPress to make your website.
WordPress is Free!
This means you are free to download, install, use and modify it to match your needs. You can use it to create any kind of website.
While the WordPress software itself is free, you need a domain name and web hosting to install it.
A domain name is the address of your website on the internet. This is what your users type in their browser’s address bar to access your website. Web hosting is your website’s house where all your website files are stored.
WordPress is Easy to Customize!
A large portion of people using WordPress is neither web designers nor programmers. WordPress is the perfect solution because there are thousands of free website templates (themes) that you can choose from. There is a perfect WordPress theme for just about every kind of website (whether it’s a blog, business site, or an online store).
WordPress themes are easy to customize because a lot of them come with their own options panel allowing you to change colors, upload logos, change the background, create beautiful sliders, and truly customize it to your needs without writing any code at all.
Just like themes, there are thousands of free and premium plugins available for you to use. Aside from adding extra functionality, some WordPress plugins can let you transform your website into a completely new platform.
WordPress is SEO Friendly
WordPress is written using standard compliance, high-quality code and produces semantic markup. In non-geek terms, this makes Google and other search engines love WordPress.
This is why WordPress sites tend to rank higher than others in search engines.
By design, WordPress is very SEO friendly out of the box. You can also use WordPress SEO plugins to further optimize your website.
Need help with SEO? See here the types of SEO services our experts can help you with. Reach out here to know more!
How to make a website using WordPress?
Are you ready to create your first website? Let’s get started!
Step 1: Get a domain name
The first step in your journey to creating a WordPress website is to purchase a domain name. The domain name is the online identity of your business, i.e. name of your website in the simple terms. In other words, it is your website address or the URL which users type on the web browser’s address bar to visit your website.
Here are some of the most popular options to choose from:
Once you have purchased a domain name, you can proceed to the next step.
Step 2: Choose a hosting provider
The next step in the process of creating your WordPress website is to choose a hosting provider. A good web hosting service is what makes your website (it’s content, pages, images, etc) accessible to your users on the internet.
All your website data and information are stored in the hosting provider’s servers, and every time a user sees or searches something on your website – it is routed from service providers servers to visitors’ browser tab.
In some cases, domain registrars sell their own hosting services. Here’s a small list to choose from:
Almost all the renowned WordPress hosting companies offer 1-click WordPress installation so that you can get the latest version of WordPress installed in a matter of minutes.
One thing to keep in mind, some of these options will offer shared hosting. While this can be cost-beneficial upfront, there are trade-offs with scalability and how much you can customize.
Step 3: Familiarize with the dashboard
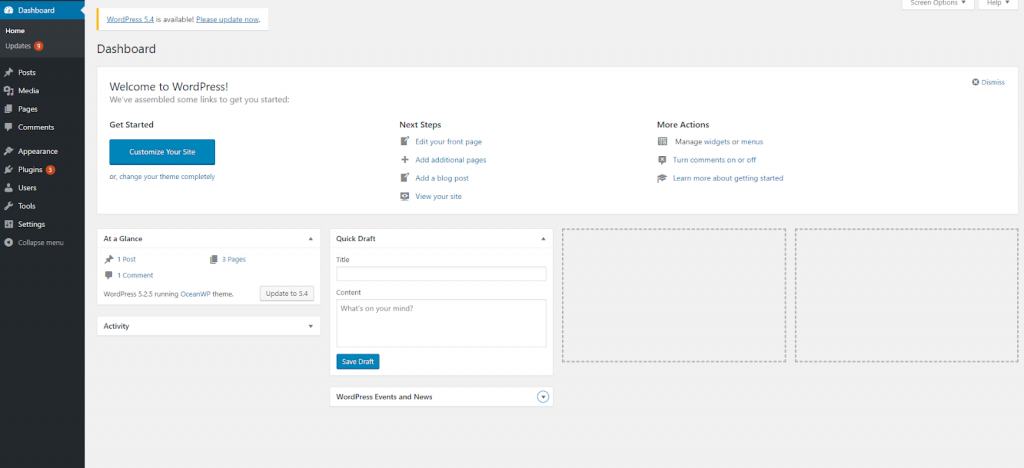
This is the backend of your WordPress website from where you can access your site’s content and customize the website. You will see the WordPress dashboard after you log in to your WordPress website with the user details that you set during the WordPress setup.
Let’s have a quick look at the major parts of the WordPress dashboard.
- Home: The default page for the WordPress dashboard.
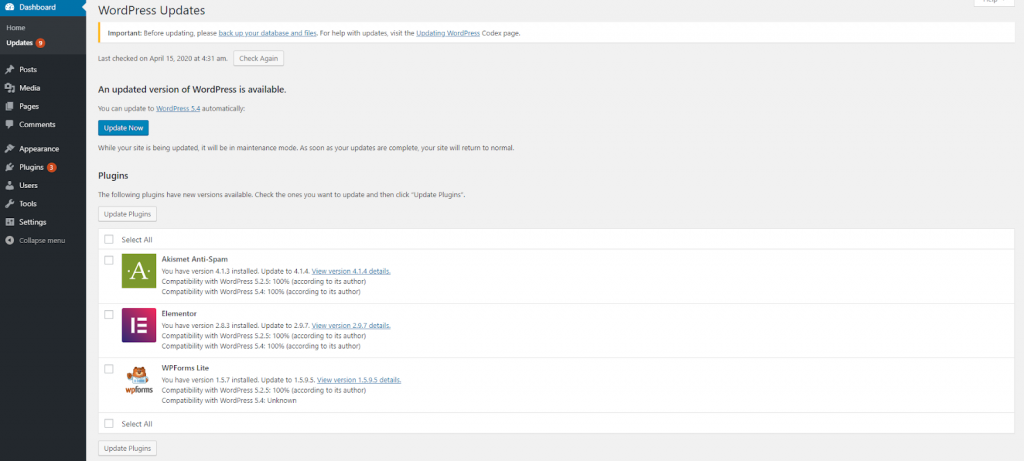
- Updates: You can check the available updates here. WordPress has frequent updates in the core software along with the themes and plugins.
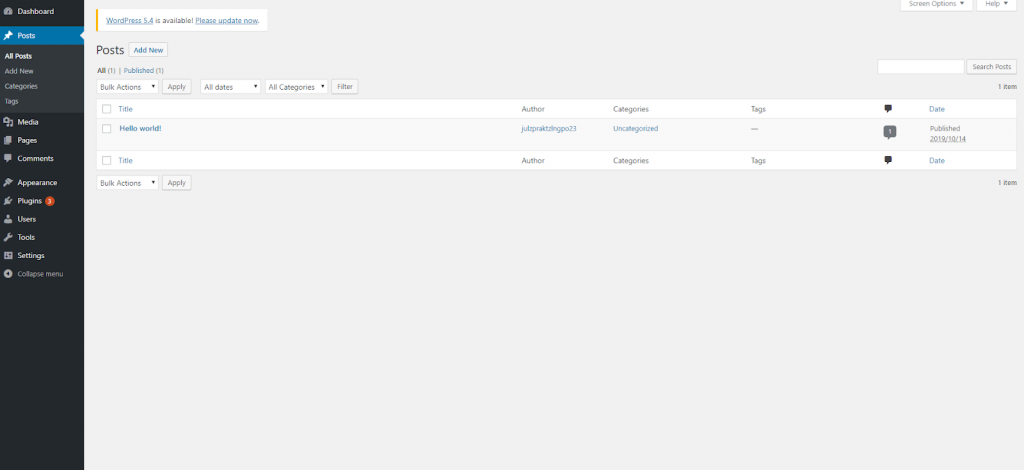
- Posts: You can add general posts or blog articles from here. Most of the content on your WordPress website are posts. Additionally, you can add post tags and categories here.
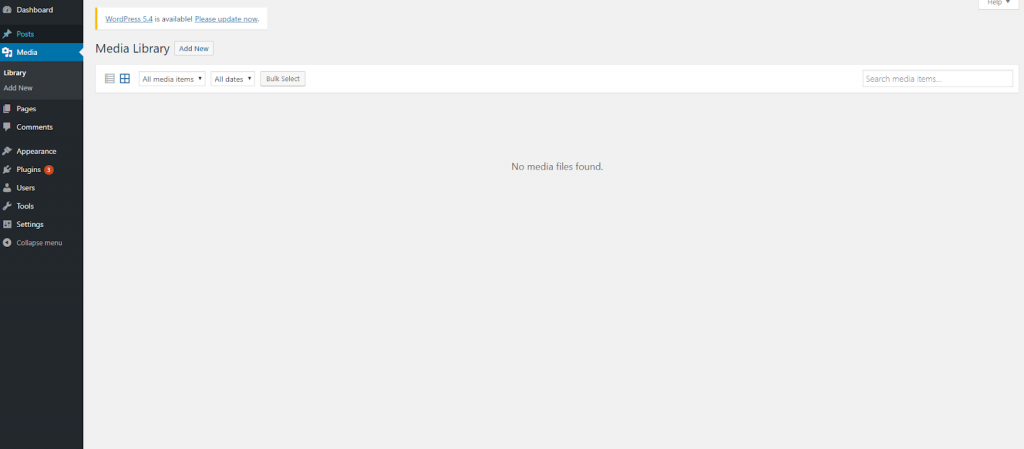
- Media: You can upload and manage media files here (photos, videos, etc).
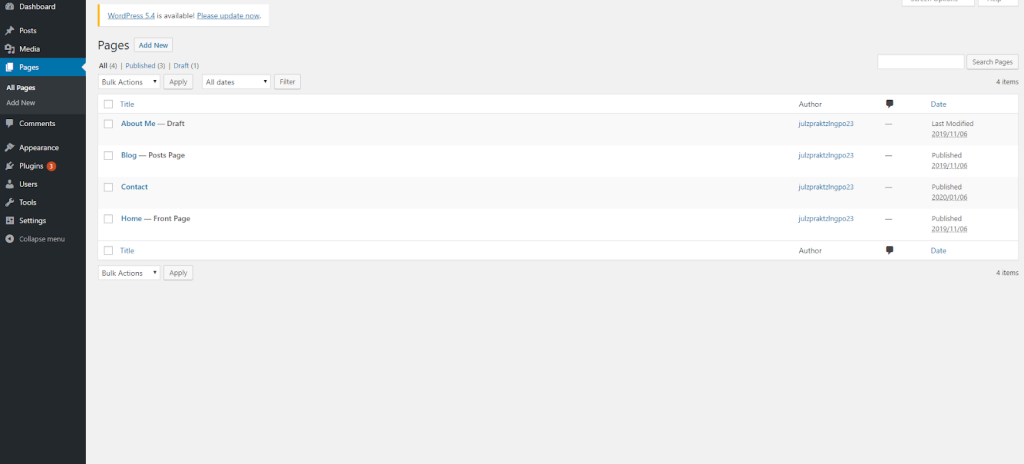
- Pages: You can add pages like ‘Home’, ‘Contact Us’, ‘About’ etc. from here.
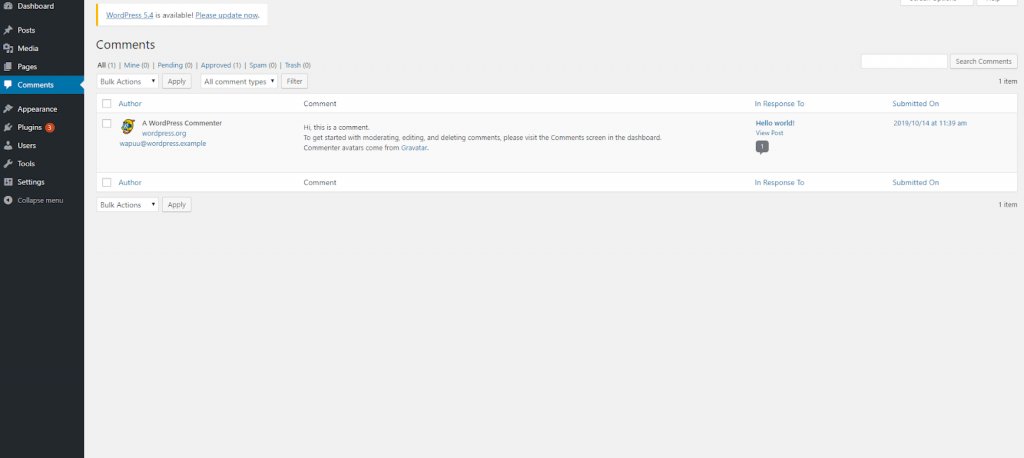
- Comments: All the comments from the site users will be available here.
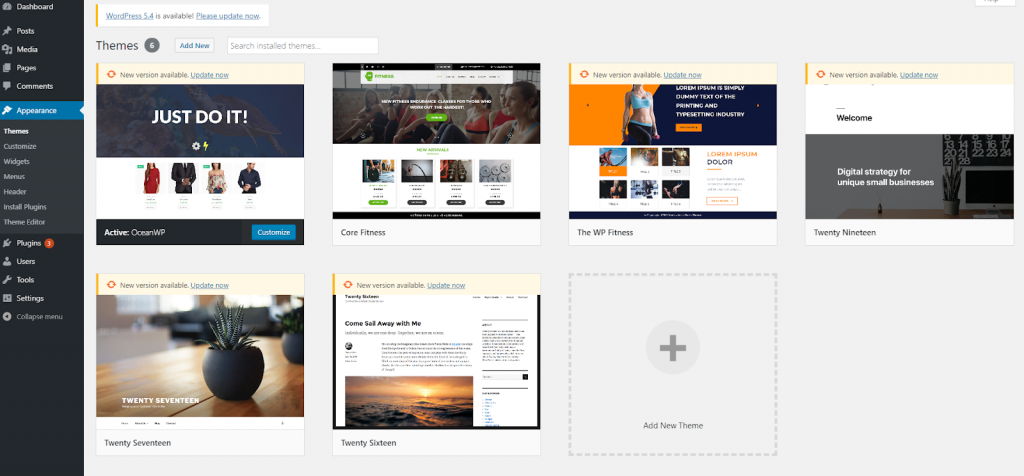
- Appearance: Appearance in the WordPress dashboard is the vital menu. You can have complete control of the design of the website via this menu. It includes themes, customizations, widgets, menus, header and CSS editor.
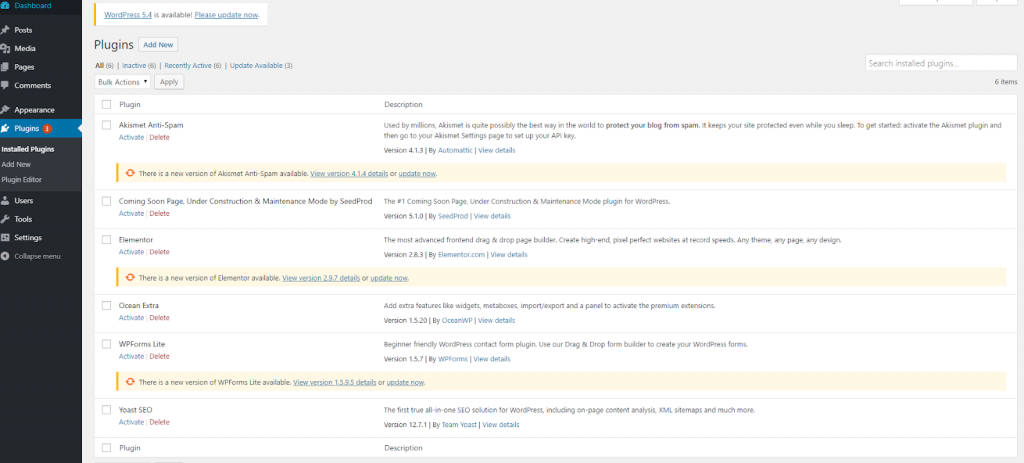
- Plugins: Plugins are handy tools for adding functionality. You can see the installed plugins and also add new plugins via this menu.
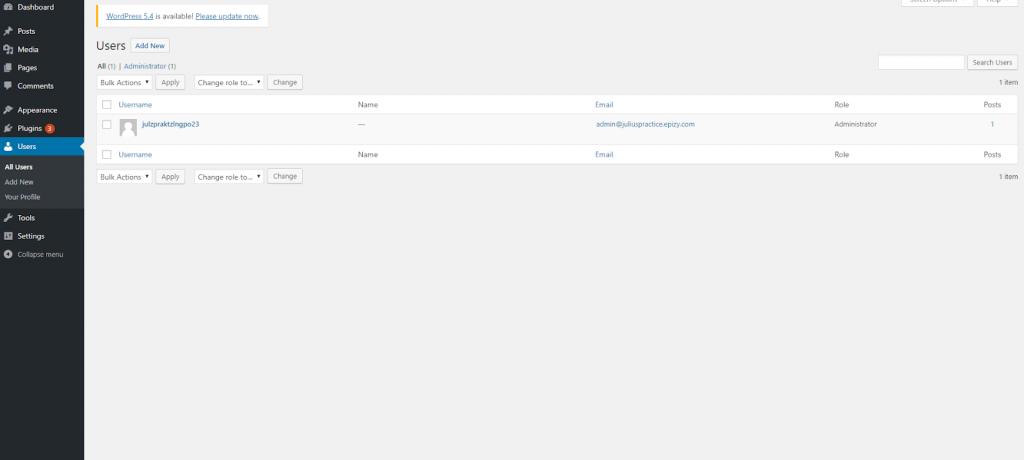
- Users: WordPress supports multiple users. You can manage all the website users from this menu.
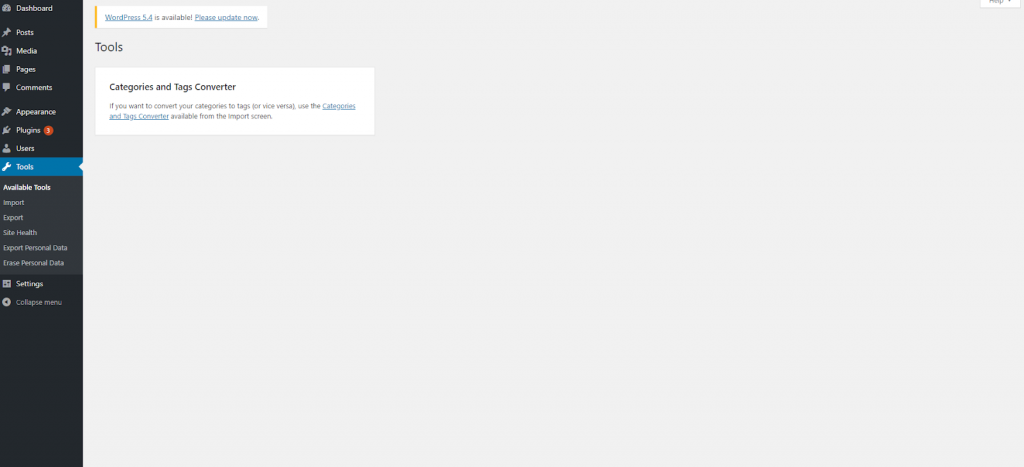
- Tools: By default, it has an ‘import’ and ‘export’ tool in this menu.
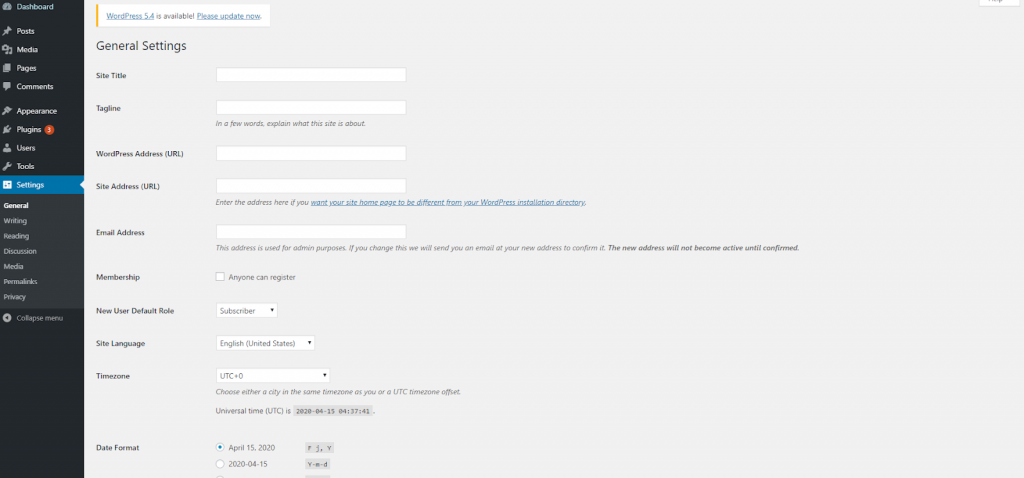
- Settings: Another very important section in the WordPress dashboard is ‘Settings’. You can see all the site configuration options here as general settings, writing, reading, discussion, media, and permalinks.
- Collapse menu: You can collapse the menu if you want to have the full-width for managing content.
Step 4: Install a theme
Here’s the official definition of a WordPress theme from WordPress.org:
“A WordPress theme changes the design of your website, often including its layout.
Changing your theme changes how your site looks on the front-end, i.e. what a visitor sees when they browse to your site on the web.”
With the help of a theme – you are able to customize the layout, structure, colors, appearance of your website.
- Login into your WordPress Dashboard.
- Click on Appearance, and then on Themes. You will notice some options there, and also the ability to search for other themes as well. You also have the option to upload a theme
- Click Add New if you wish to search for other themes.
- Click Install & Preview if you’re ready to install the selected theme.
After you do this, you are ready to go. Go to Appearance > Customize and start building and personalizing your website.
Step 5: Install must-have plugins
WordPress allows you to quickly set up a website using it’s free CMS. However, there are limitations to what you can do out-of-the-box. To fill the gaps with functionalities – WordPress offers a library of plugins.
A plugin is a software (some free, some paid) that you can install on your WordPress website to enhance the functionality of your site.
Here’s a small list of vetted plugins you need to have on your website.
- Akismet – anti-spam plugin
- UpdraftPlus – backup plugin
- WordFence – security plugin
- Yoast – all-in-one SEO plugin
Plugins make everything seem so easy and help you keep your website safe and organized so that you are no longer lost in the long lines of code that you need to mess up with.
To install a plugin, head over to the WordPress Dashboard. Click on Plugins, and this will display the list of your existing plugins. To search for and add new plugins, choose Add New. You can then search for the plugin, click Install, then click Activate.
Step 6: Start creating your pages and posts!
WordPress comes with two default content types called posts and pages. Posts are part of a blog and appear in reverse-chronological order (newer items displayed first). On the other hand, pages are meant to be static “one-off” type content such as your about page, contact page, privacy policy, etc.
By default, WordPress shows your blog posts on the front page of your website. You can change that, and make WordPress show any page as the front-page of your website.
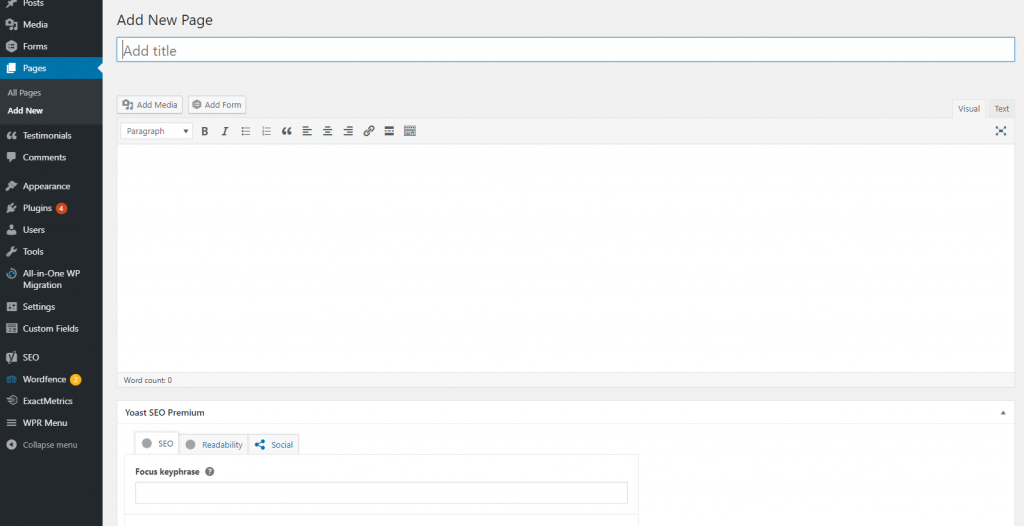
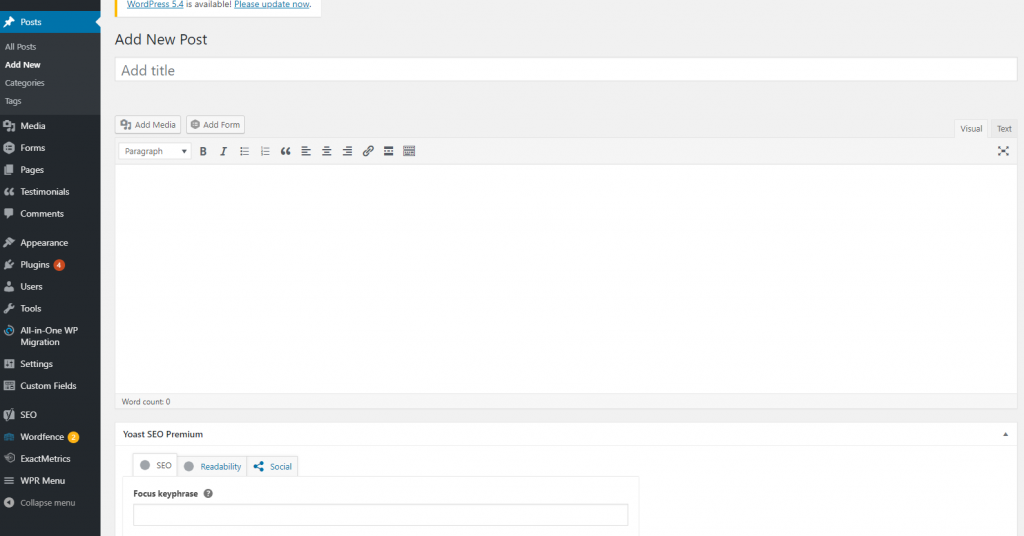
To add a new page, head over to Pages » Add New from the dashboard menu. This will bring you to the page editor screen,
To add a new post, head over to Posts » Add New from the dashboard menu. This will bring you to the post editor screen,
CONCLUSION!
Congratulations! You’ve just learned how to start a website!
Creating the perfect website is not an easy task, nor is it a done deal. The perfect website requires time and continual work to keep it that way. There’s always something to optimize, trends to keep up with, security issues to worry about. If you plan on being in business for years to come, prepare yourself. Your website will go down at some point for some unknown reason; the code and design will get old at some point, and you will find bugs with time.
We hope this guide helped you. If at any time during your setup you need guidance, you can refer back to this guide for any help, or contact us! Our experts here at Avamia can help you with your WordPress development needs.
